> ## Documentation Index
> Fetch the complete documentation index at: https://docs.nexiohost.in/llms.txt
> Use this file to discover all available pages before exploring further.
# Quickstart
> Deploy your Discord bot on NexioHost in minutes.
# Quickstart
This guide walks you through getting your Discord bot live on NexioHost — from signup to a running bot in just a few steps.
## Step 1 — Create Your Account
1. Go to billing and click [**Get Started**](https://billing.nexiohost.in).
2. Sign up with your email address and set a password.
3. Verify your email via the confirmation link.
Already have an account? Head to the [Client Area](https://billing.nexiohost.in) to log in.
## Step 2 — Choose a Plan
Pick the plan that fits your bot's needs. Not sure? Start with the **Free plan** — no credit card required.
Browse all hosting plans at billing.nexiohost.in — starting from free.
## Step 3 — Create a New Service
1. Log in to the [Client Area](https://billing.nexiohost.in).
2. Click **Order New Service** and select **Discord Bot Hosting**.
3. Choose your plan and complete checkout.
4. Your server will be provisioned **instantly**.
## Step 4 — Upload Your Bot Files
Once your service is active:
1. Open your control panel from the Client Area.
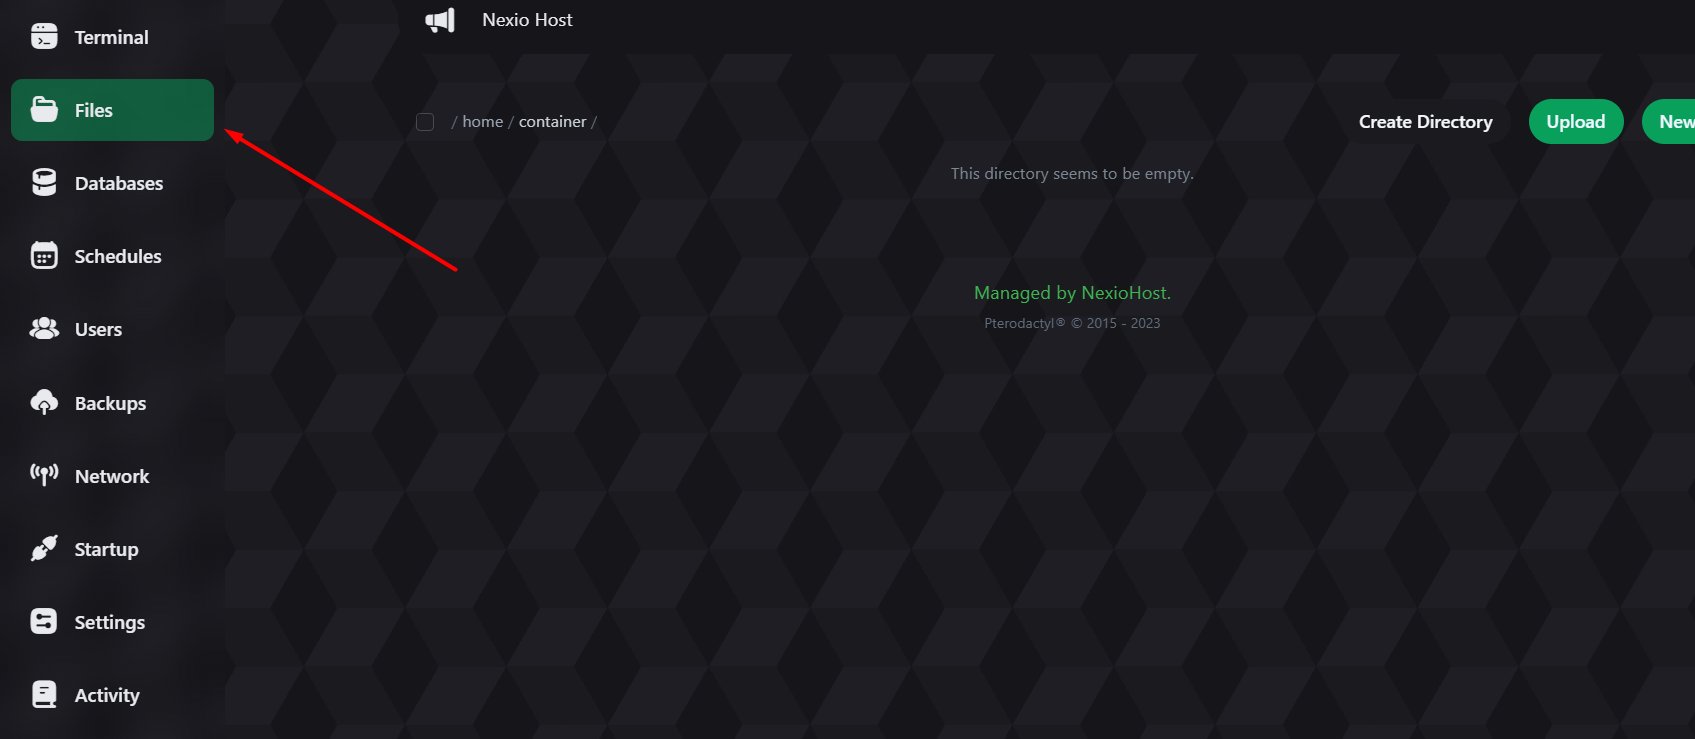
2. Navigate to the **Files** tab (highlighted in the sidebar).
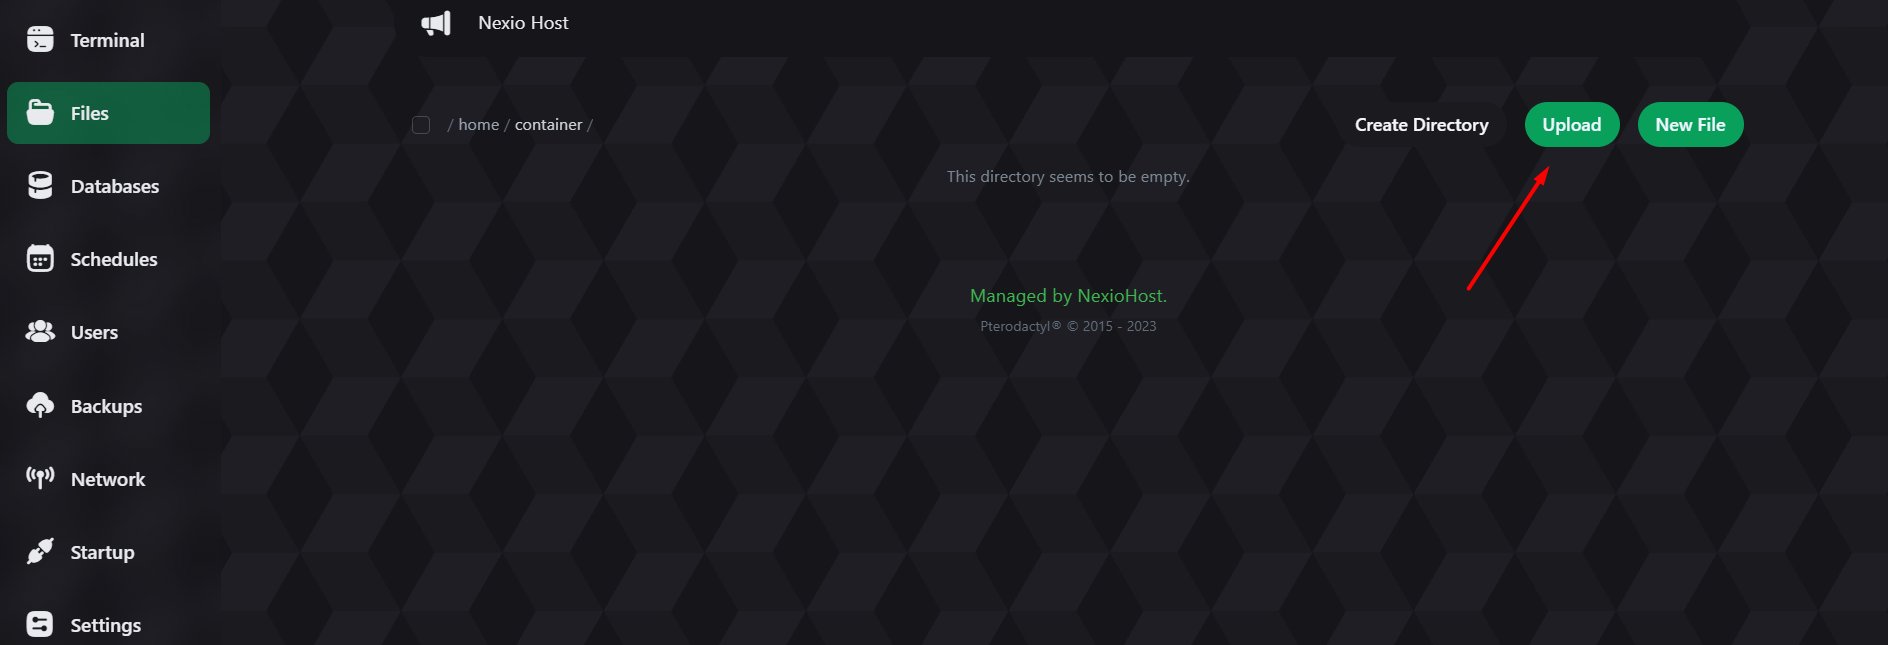
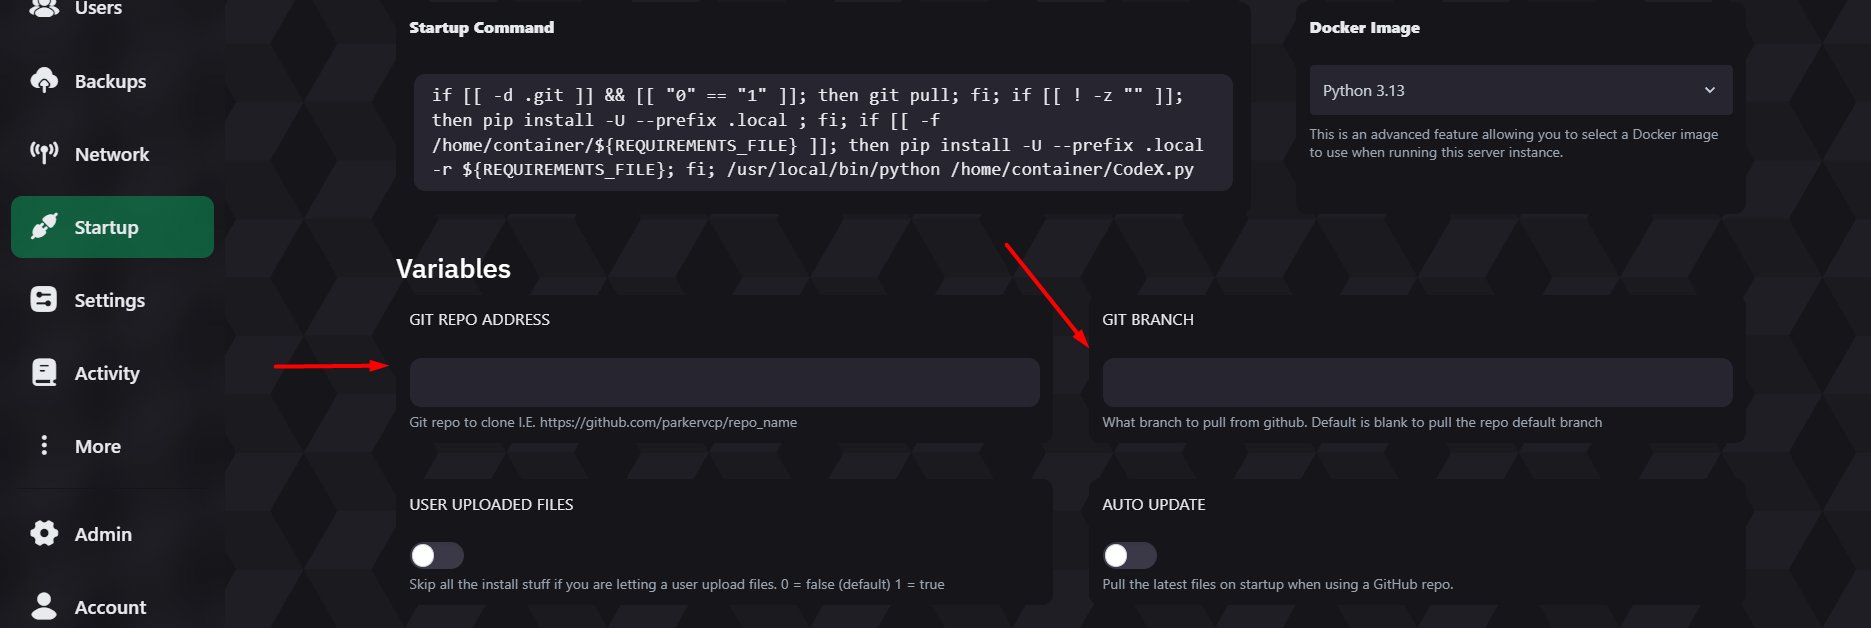
 3. Upload your bot's project files (or use Git to clone your repo).
 **Supported languages:** Node.js, Python, Java, Go, and more.
## Step 5 — Set Your Startup Command
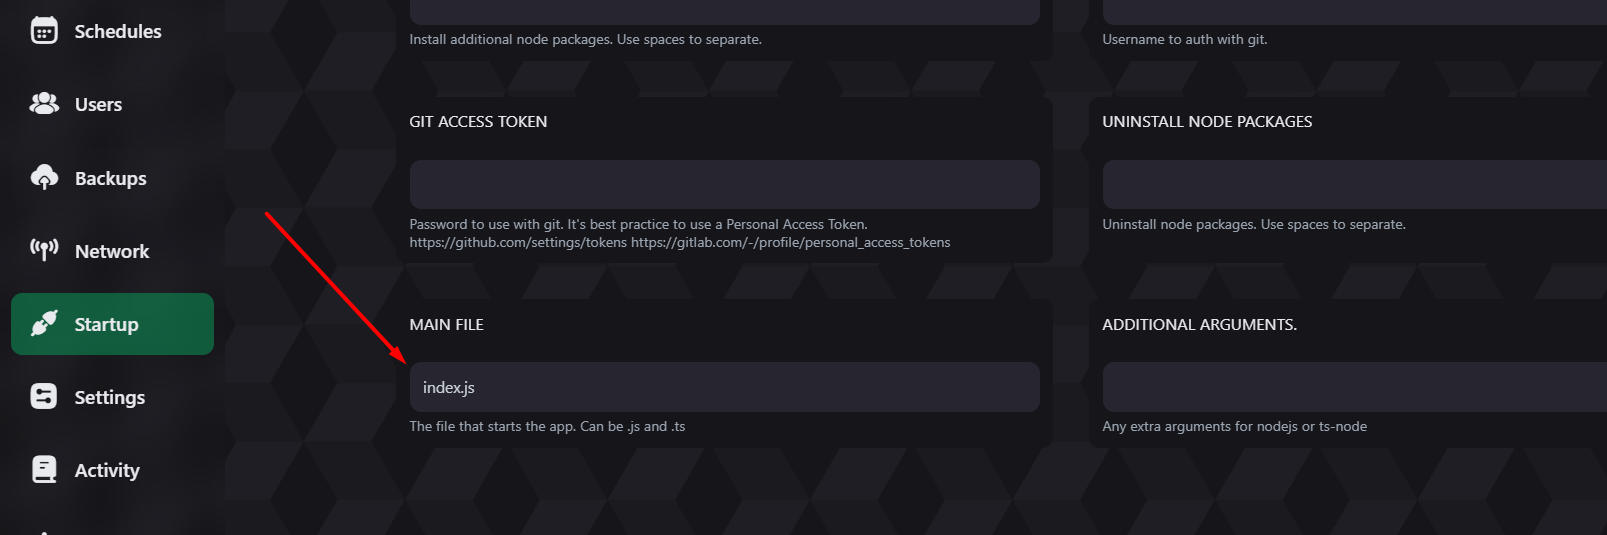
1. Go to **Startup** in your service panel.
2. Set the startup command for your bot. Examples:
**Supported languages:** Node.js, Python, Java, Go, and more.
## Step 5 — Set Your Startup Command
1. Go to **Startup** in your service panel.
2. Set the startup command for your bot. Examples:
 ```bash Node.js theme={null}
index.js
```
```bash Python theme={null}
bot.py
```
3. Make sure your **bot token** is set as an environment variable — never hardcode it.
Never commit your bot token to Git or paste it in plain text. Use environment variables in your service panel under the **Environment** tab.
## Step 6 — Start Your Bot
1. Click the **Start** button in your service panel.
```bash Node.js theme={null}
index.js
```
```bash Python theme={null}
bot.py
```
3. Make sure your **bot token** is set as an environment variable — never hardcode it.
Never commit your bot token to Git or paste it in plain text. Use environment variables in your service panel under the **Environment** tab.
## Step 6 — Start Your Bot
1. Click the **Start** button in your service panel.
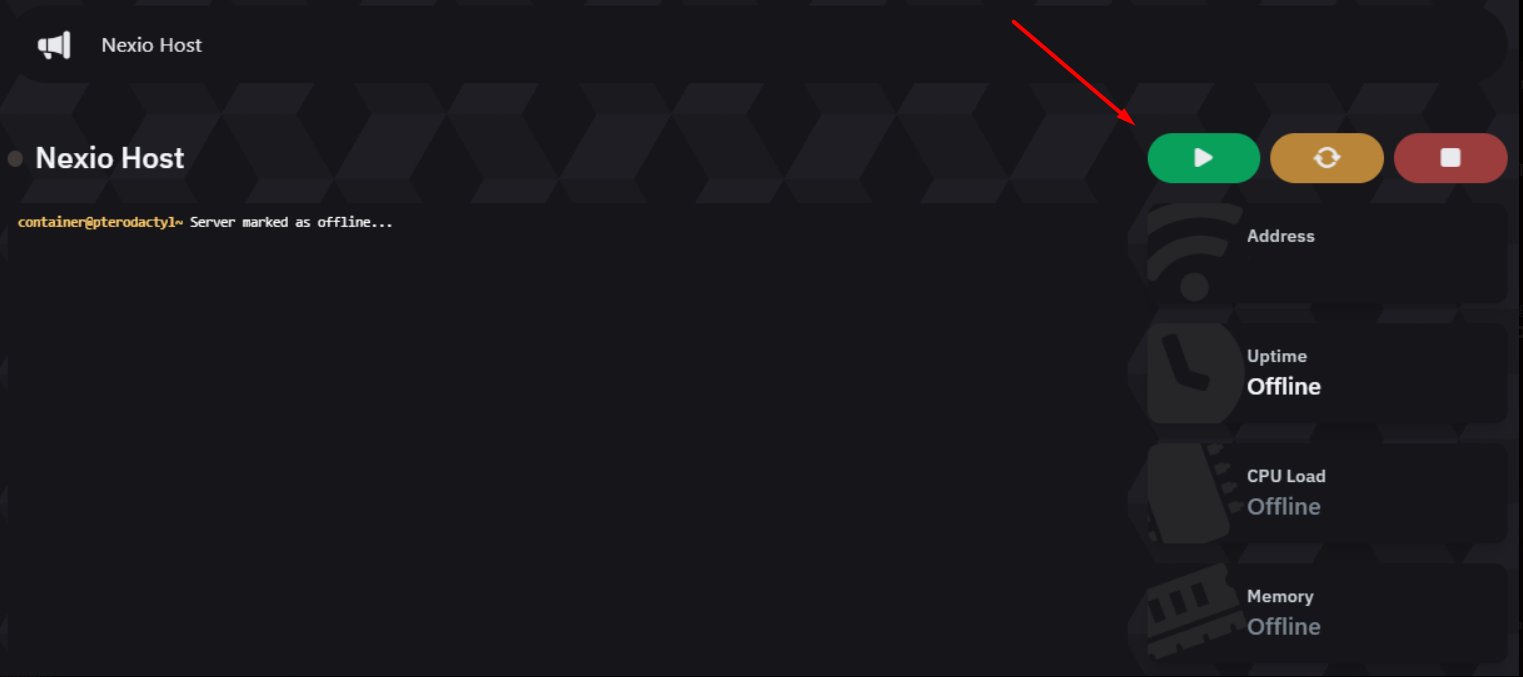 2. Watch the **Console** tab to see your bot come online.
3. Your bot will now stay online 24/7 with **auto crash restart** enabled by default.
Your bot is live! Check your Discord server — it should now show as online.
## What's Next?
Compare plans and upgrade anytime.
Connect Redis, MongoDB, or PostgreSQL to your bot.
Add a Lavalink node for music bot functionality.
Need more RAM or CPU? Scale up instantly.
2. Watch the **Console** tab to see your bot come online.
3. Your bot will now stay online 24/7 with **auto crash restart** enabled by default.
Your bot is live! Check your Discord server — it should now show as online.
## What's Next?
Compare plans and upgrade anytime.
Connect Redis, MongoDB, or PostgreSQL to your bot.
Add a Lavalink node for music bot functionality.
Need more RAM or CPU? Scale up instantly.